One, two, and three-view drawings are commonly used for what?
What is showing the shape of an object.
These are shown as solid lines broken at the midpoint for the insertion of measurements?
What are dimension lines.
What is normally located in the lower right-hand corner of an aircraft drawing?
What is the title block.
What is the class of working drawing that describes or depicts a single part?
What is a detail drawing.
This is a dimension allowable between parts?
What is clearance.
How many views can there be in an orthographic projection?
What is 6 (six).
These lines alternate long and short dashes?
What are center lines.
Where is the revision block normally located?
What is adjacent to the title block or at the top right hand corner.
A drawing in which the subassemblies or parts are shown as brought together on the aircraft is called a what?
What is an installation drawing.
This is the allowable plus or minus variation from the dimension given on the drawing?
What is tolerance.
How many views are used to show most objects in an aircraft drawing?
What is 3 (three).
These lines are depicted as one long and two short?
What are phantom lines
How are aircraft drawing changes identified?
What are usually listed as revisions.
Working drawings may be divided into three classes. They are:
What are detail drawings, assembly drawings, and installation drawings.
This is the distance in inches from the datum, measured along the longitudinal axis of the fuselage?
What is the fuselage station number.
This is used in illustrating an object showing different views (front and right side) at right side view?
What is an orthographic projection.
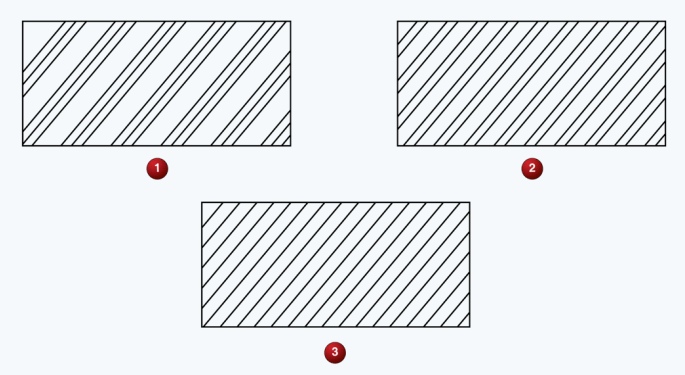
Which material section-line symbol indicates cast iron?

What is 3 (three).
This is a list of materials and parts necessary for the fabrication or assembly of a component or system?
What is the bill of materials.
What type of diagram shows the wire size required for a particular installation?
What is a wiring diagram.
What type of diagram would a mechanic use for troubleshooting?
What is a schematic diagram.
Objects of uniform thickness, gaskets, shims, and plates might be represented by what type of drawing?
What are one-view drawings
What material symbol is frequently used in drawings to represent all metals?
What is cast iron.
In a sectional view drawing, what sections illustrate particular parts of an object?
What are removed sections.
A hydraulic system schematic drawing typically indicates the what?
What is the direction of fluid flow through the system.
In what type of electrical diagram are images of components used instead of conventional electrical symbols?
What is a pictorial diagram.